
This was one of the easiest wreaths I’ve ever made, and one of the most fun, too. I think it’s just the right combination of pretty and spooky for Halloween. All it took was some Halloween decorations you can easily find this time of year–I got these at Walmart–and basic craft materials I already had at home.
Here’s what I used:
-
a foam wreath form
-
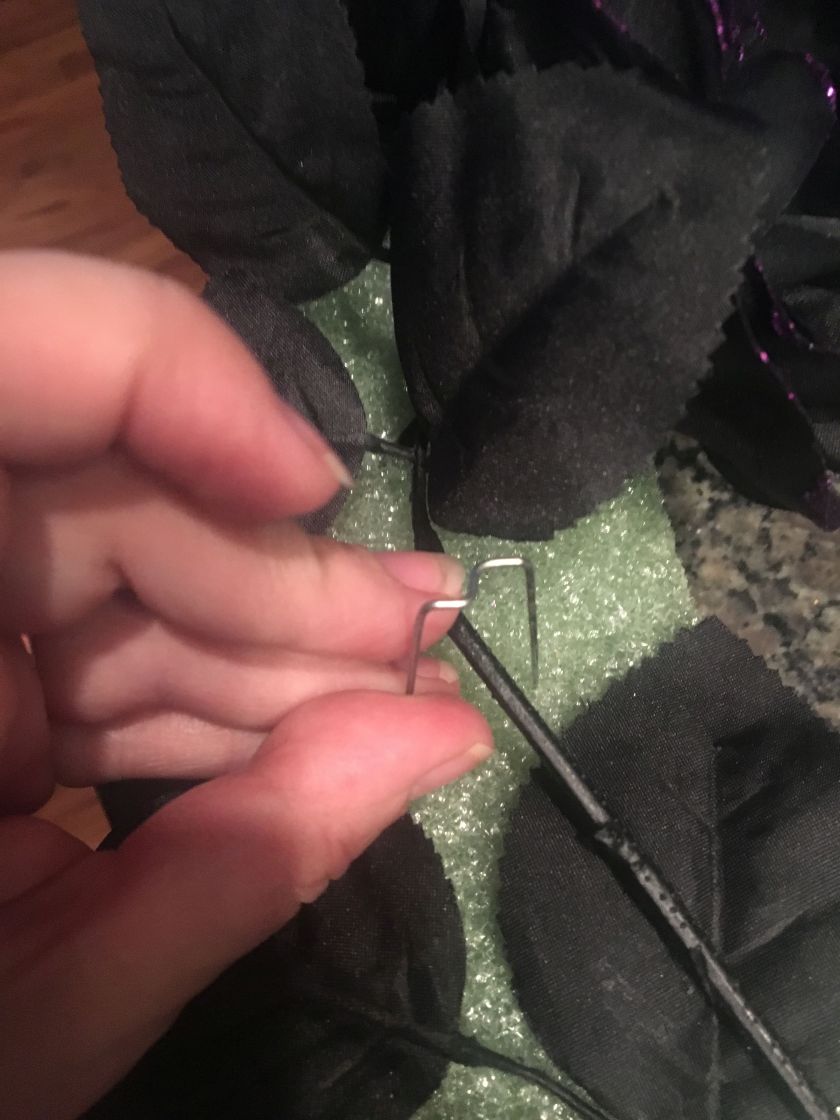
greening pins
-
a few floral pins
-
Heavy duty floral cutter scissors (I use Clauss No. 3412 Stainless Steel Floral Cutters)
-
Hot glue gun, glue stick
-
purple ribbon
-
about 20 artificial roses in Halloween colors
-
a bag of small plastic skulls (These were about $3.)
-
2 sprigs of Halloween bouquet filler–one with a jack-o-lantern, the other with a spider
You could easily replace the Halloween decor I included with whatever is available at your store. I think it would be cute to use the spider rings you so often see at Halloween.


I still had a Styrofoam wreath form from a fresh wreath I made a few weeks ago. I generally hate anything made of Styrofoam, but if I can reuse it many times, I don’t feel quite as bad about it.
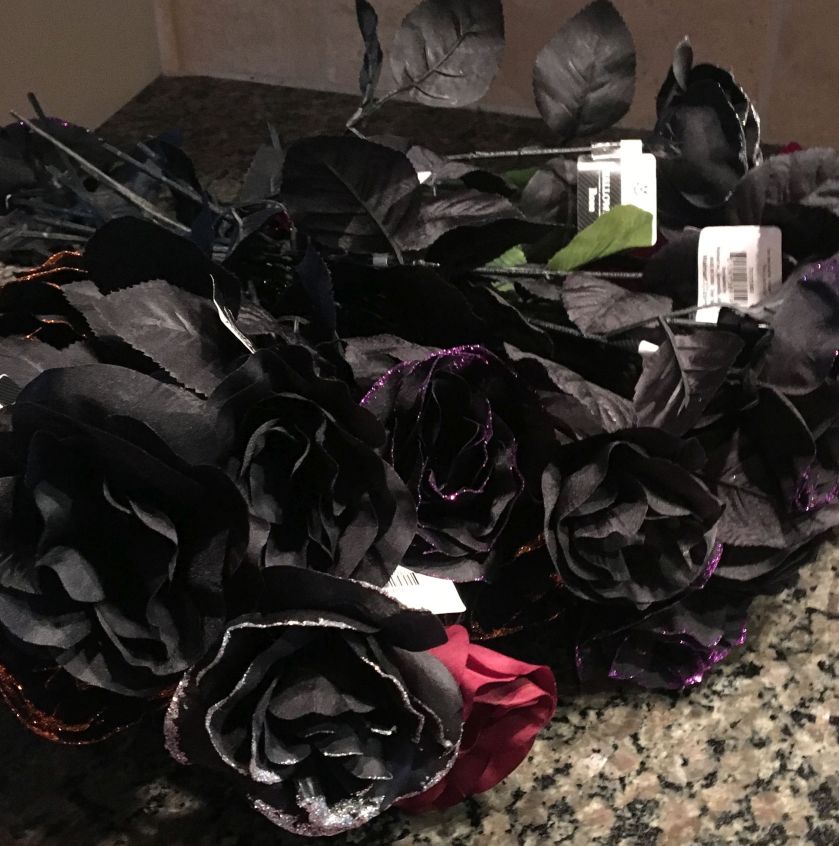
Once I got my materials together, the first step was cutting the roses. The strong wires in artificial flowers mean regular scissors won’t do the job. I was so glad to have my floral cutters, which had mysteriously made their way from my craft box to my husband’s tool box. Most artificial flowers have little grooves along which it is easy to make cuts. I cut the bloom at highest groove, separating it from the leaves but leaving enough stem to attach the flower to the wreath without needing any pins.

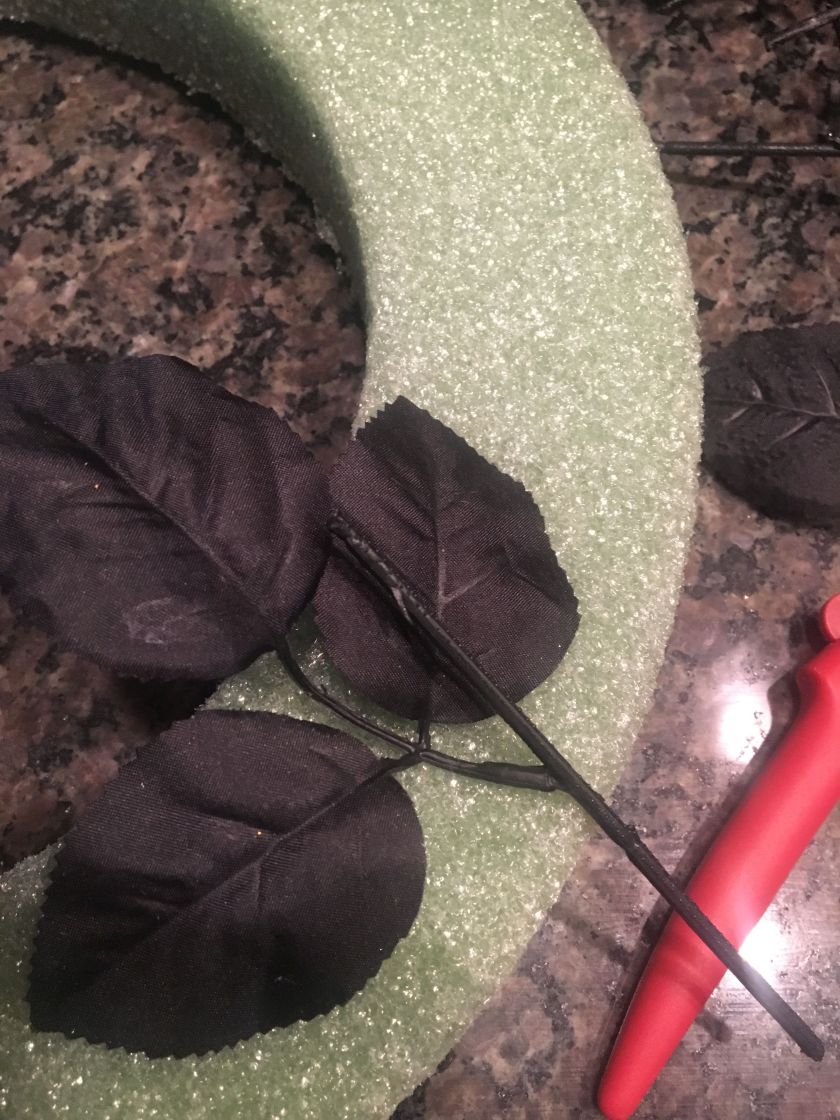
That leaves you with the stems and leaves to serve as your greenery. Pin those to the wreath first, sticking the end of the stem into the wreath, then pinning into place using U-shaped greening pins.

Next, pin the flowers to the wreath. You won’t need pins, just stab the wire at the end of the stem into the foam wreath.
After covering the wreath with black stems & leaves and the roses, I added the sprigs of Halloween bouquet decorations.

I could have left it at that–just a pretty, Halloween-themed floral wreath, but I really loved the skulls I’d found and wanted a more spooky/kitschy Halloween look.
The best way to attach the skulls was with hot glue. The mesh bag they came in had a few mini-skulls around the closure. I cut the closure off in one piece, with the miniature skulls, and pinned it to the wreath.


Next, I hot glued the rest of the skulls to the wreath.
I needed a few floral pins to attach a few leaves that came loose, to cover gaps, and finally to attach the ribbon–some I still had left over from my DIY wedding flowers and decorations. I don’t usually like big bows on my wreaths, just some simple ribbon for hanging it on the door.
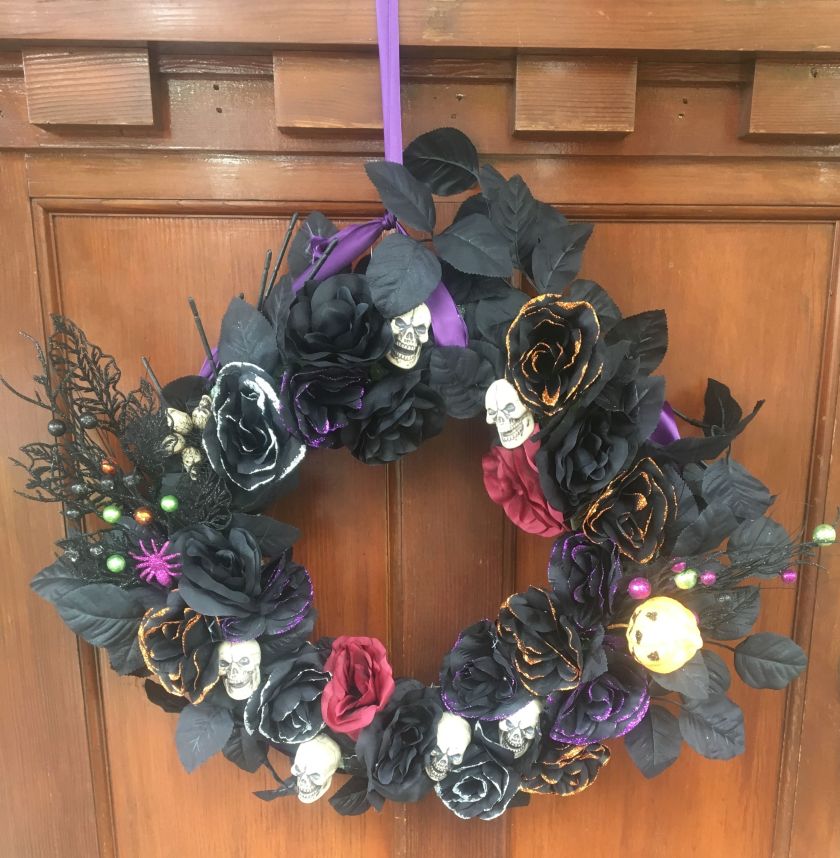
Ta-da! I’ve really enjoyed the wreath. It’s really helped me get even more excited about taking Bitsy trick-or-treating, then handing out candy. I made it during Bitsy’s nap. When she woke up and first noticed it on the door, she wanted me to keep opening and closing the door so she could look at it 🙂
I think I’ll keep this wreath and use it again for years to come.
Happy Halloween!
(This post contains Amazon affiliate links. As an associate, I earn from qualified purchases.)
